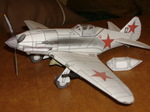
CARD MODEL CLEAR CANOPY TUTORIAL
CLEAR CANOPY TUTORIAL
I've come up with a way to simply make clear canopies for my card models. This is done by using the canopy layout printed on the model assembly sheet. NOTE: I print the sheet that has the canopy on it on regular printer paper not card stock. This reduces the separation of the tape around the window frames.
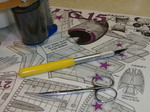
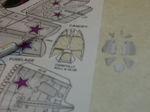
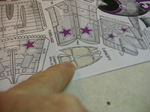
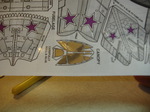
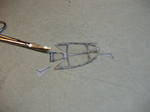
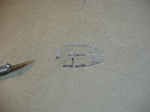
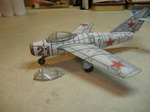
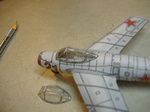
You'll need an x-acto knife, small scissors, 2 inch clear tape & a little practice. The example below is a canopy for a Fiddlers Green, Mig 21. First cut out the window areas of the canopy with a sharp x-acto knife. Next cover the upper canopy with 2" clear tape(Make sure your work surface is very clean) Now cut out the entire canopy including the area where the white glue taps were. Try not to get finger prints on the clear tape where the windows are. Turn the canopy over and lay flat, and cover the underside of the canopy with clear tape. Trim off all excess tape. Slit the tape where the glue tabs were, these will be used to tape the canopy into shape instead of the glue tabs. To form the canopy take the tape tabs you slit, one at a time, and bend them back and bring the two edges together to form the canopy. Once lined up bring the slitted tape forward and press the two pieces of the canopy together. The tape will now hold the canopies shape together.
Thats it!! Except for Pictures!!!! Post them at Fiddlers Green Forum!!!!
 Post them at Fiddlers Green Forum!!!!